Daisy User Guide
Welcome to the user guide for the DAta Information SYstem (DAISY). DAISY is a tool that assists GDPR compliance by keeping a register of personal data used in research.
1. Quickstart
1.1 Login and User Homepage
Upon successful installation of DAISY, go to the web address
https://${IP_ADDRESS_OR_NAME_OF_DEPLOYMENT_SERVER}, where you should display the login page.
Based on the authentication configuration made for your deployment, you may log in by:
- the user definitions in an existing LDAP directory, e.g. institutional/uni credentials.
- the user definitions maintained within the DAISY database.
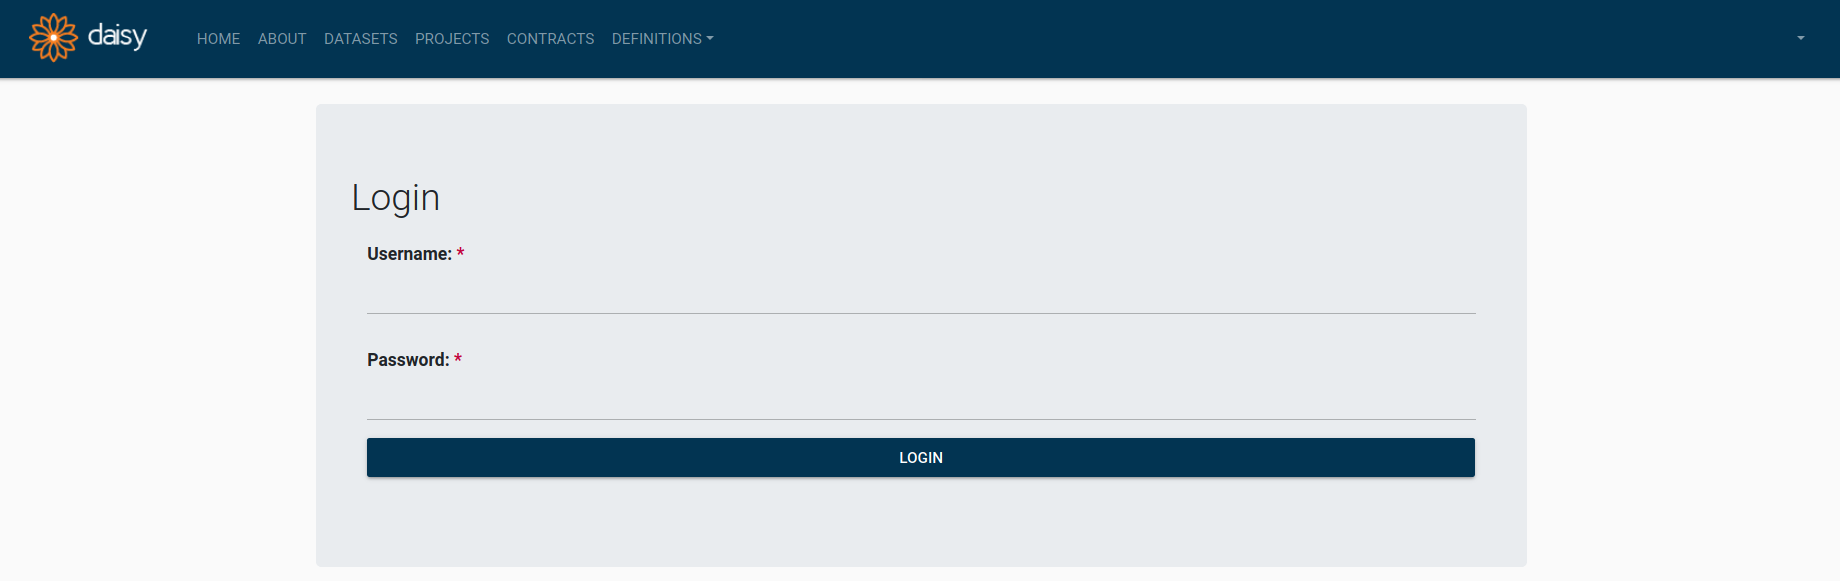 DAISY Login Page
After successful login, you see DAISY home page.
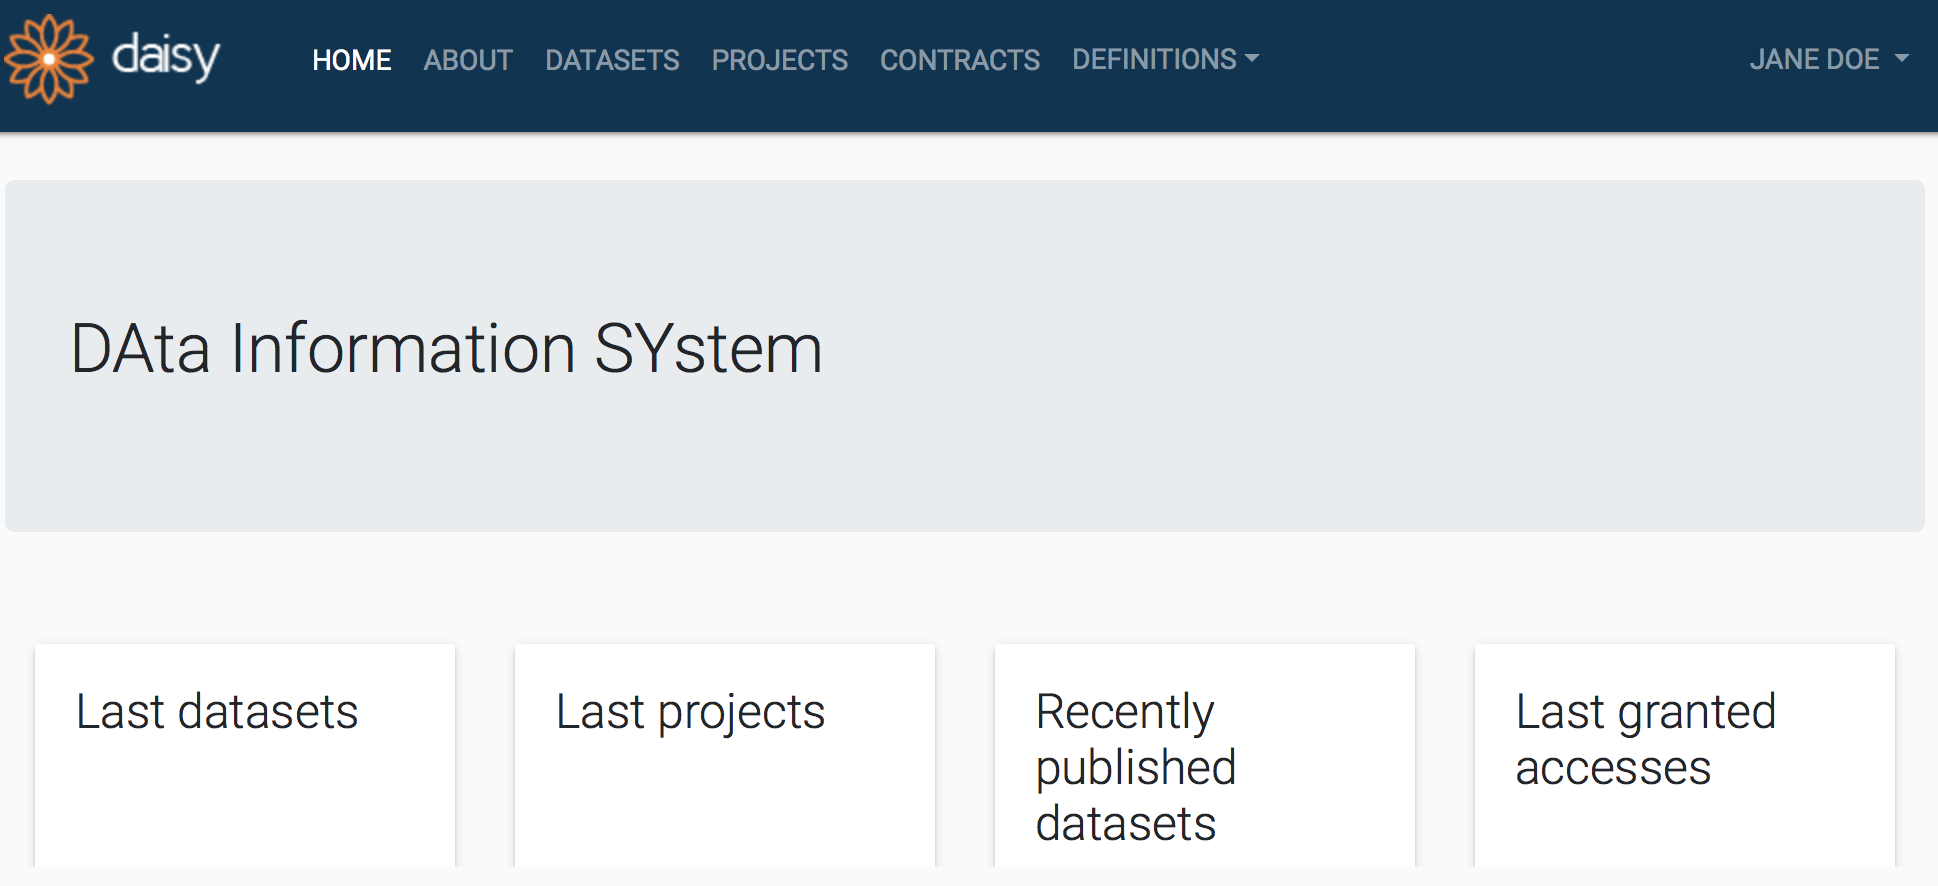 DAISY User Home Page
1.2 DAISY Interface Conventions
The main view of each DAISY module is called Search Page, where you choose entity you are interested in (or create a new module). You can inspect a particular entity details in Entity Details Pages and edit them in Entity Editor Pages.
Search Pages
DAISY provides search pages for all entities manageable via modules. Currently these modules are: Datasets, Projects, Contracts and under Definitions: Cohorts, Partners, Contacts. All search pages have similar layout and operational conventions. Search pages are also the only entry point for the functions in a module. When you select a module from the menu bar, you will be taken to the search page for the entity managed by that module.
As an example, the screenshot of the search page for Projects is given below. Each search page is headed with the help text containing a brief description. On the left hand side of the page there are search facets and on the right - the search results are displayed.
 Search page for Projects
By default, all entities (in our example - projects) will be listed on the search page. The list can be filtered by either selecting one or more facet from the left hand side or by typing in a keyword into the search box. Note that currently DAISY search does not support partial matching. Instead, the entire keyword will be matched in a case insensitive manner.
On the top right section of search results a few attributes are listed. Clicking on these attributes repeatedly will respectively (1) enable the ordering; (2) change order to ascending/descending; (3) disable ordering for the clicked attribute.
Each entity listed in the search results is displayed in a shaded box, containing few of its attributes. In our example these are the project's name and the number of publications. Each result box will also contain a DETAILS link, through which you can go to the Entity Details Page.
Depending on the permissions associated with your user type, you may see a add button (denoted with a plus sign) at the bottom right section of the search page. You can add a new entity by clicking the plus button, which will open up an empty editor form for you to fill in.
Entity Details Pages
Clicking the DETAILS button in the search result box takes you to Details Page, which contains the information about the chosen entity. An example of details page for Project named 'SYSCID' is given below.
 Details page of a Project in DAISY
You may end up on an Entity Details Page through:
- the DETAILS link of a search results in a search page.
- the links on details pages of other (linked) entities in DAISY.
Each Details Page is headed with an entity overview box listing some of the entity's attributes (e.g. local custodians, start date) and allows to modify the entity. Depending on users permissions (see users groups) in the right bottom corner of the overview box you may see:
- permissions button (denoted with an eye icon),
- edit entity button (denoted with a pencil icon),
- remove entity button (denoted with a bin icon).
Beneath the entity overview box there are several information boxes, which display the further details of the entity (e.g. personnel, ethics).
If you have edit permissions for the entity, then at the top right corner of particular detail boxes you will see an add detail button (denoted with a plus sign). Via this button you can do the following:
- create links to other entities e.g. link contacts with projects.
- create (inline) detail records to the current entity e.g. one or more publications to a project.
Entity Editor Pages
When you click the edit button on the Details Page of an entity, you will be taken to the Editor Page containing a form for entity update. An example of editor form is given below.
 Editor page of a Project
Each field in the form is be listed with a name, a value and a help text. Names of the fields that are required to have a value, are marked with a red asterisk (e.g. Title).
Editor forms can be saved by pressing SUBMIT button at the bottom of the page. The forms will be validated upon the submission. If the validation fails for one or more fields, these will be highlighted with inline validation error message, illustrated below.
 Field validation error message
Upon successful submission of a form, you will be returned to the Entity Details page. DAISY may give success and/or warning messages upon the form submission; these will be displayed at the top of the page, as illustrated below.
 Status message displayed in DAISY
2. What records can be kept with DAISY?
This section contains a brief description of DAISY functions listed in the application's menu bar (image below) and some tips how to effectively familiarise with DAISY application.
 DAISY Menu bar
2.1 Projects
Projects Management module allows for the recording of research activities as projects. Documenting projects is critical for GDPR compliance as projects constitute the purpose and the context of use of the personal data. Any document supporting the legal and ethical basis for data use can be stored in DAISY (e.g. ethics approvals, consent configurations or subject information sheets). Go to Project Management
2.2 Datasets
Datasets Management module allows for the recording of personal data held by the institution. The dataset may or may not fall in the context of a particular project. DAISY allows datasets to be defined in a granular way; where - if desired - each data subset, called a data declaration, can be listed individually. These declarations may list data from a particular partner, data of a particular cohort or data of a particular type. Go to Dataset Management
Access Management
DAISY records who has access to each dataset, under what conditions, and for how long. Access records are mandatory for GDPR accountability and carry a full audit trail. Access can be granted to internal users or external contacts, scoped to specific storage locations, and set to expire automatically. Go to Access Management
Dataset Publishing
Datasets can be published to external systems — a data catalog or a REMS instance — making them discoverable and enabling data access request workflows. Publishing is managed through Exposure records and is restricted to Data Stewards. Each published dataset receives a permanent ELU accession number used as its external identifier. Go to Dataset Publishing
2.3 Contracts
Contracts Management module allows for the recording and storage of legal contracts of various types that have been signed with partner institutes or suppliers. Consortium agreements, data sharing agreements, material transfer agreements are the examples of the contracts.
For GDPR compliance the contracts become useful in case of documenting the received datasets source or transferred datasets target. Go to Contracts Management
2.4 Notifications
DAISY automatically notifies local custodians before key dates are reached — project end dates, data retention deadlines, document expiry dates, and expiring access grants. Notifications are delivered in-app and optionally by email. Each user can configure how far in advance they are notified and which channels are active. Go to Notifications
2.5 Definitions
Definitions Management module allows the maintenance of secondary entities which are used when defining contracts, projects or datasets. Users can manage cohorts, partner institutes, contact persons, and data access committees via the definitions module. Go to Definitions Management
Data Access Committees
Data Access Committees (DACs) manage the review and approval of data access requests for datasets. A DAC is always created under a Contract (and thus a Project) and lists the committee members responsible for evaluating access. Datasets can be assigned to a DAC to indicate which data falls under its governance. Go to DAC Management
3. Different types of DAISY users
DAISY provides several user groups, each with a different set of permissions. All users can view records; what differs is whether they can edit, delete, access protected elements, and manage other users' access.
-
Standard user — The default group for all users. Can view any Project, Dataset, Contract, or Definition, create new records, and edit or delete records they created or where they are assigned as Local Custodian. Cannot access protected elements (e.g. document attachments) or manage permissions.
-
VIP user — Assigned to research principal investigators. Has all Standard user access, and additionally — on records where they are Local Custodian — can access protected elements and manage other users' permissions on that record.
-
Data Steward — Assigned to IT and data management specialists. Has elevated privileges across the entire system: can view, create, edit, and delete any record, access all protected elements, manage permissions on any record, and publish datasets.
-
Legal user — Assigned to legal support staff. Can view all records. For Contract records specifically, can add, edit, delete, access protected elements, and manage other users' access.
-
Auditor — Assigned to external persons given temporary read access, typically during an audit. Can view all records and access protected elements on Projects, Datasets, and Contracts, but cannot create, edit, delete, or manage permissions.
For the full permission breakdown including inheritance rules, see Users Groups and Permissions.